The Glowing Shard Quest in WoW Forever

The Glowing Shard in WoW Forever is a level 26 dungeon quest for both factions that begins with a shard dropped by Mutanus in Wailing Caverns and grants the character 5,150 XP. You reach the shard by defeating four Fanglords and completing a long escort run, then turn it in at two locations: in Ratchet and on the mountain above the entrance. The second step unlocks the next phase, offering a choice between two items and bringing the total XP for the quest chain to 7,150 XP.

How to Get the Glowing Shard
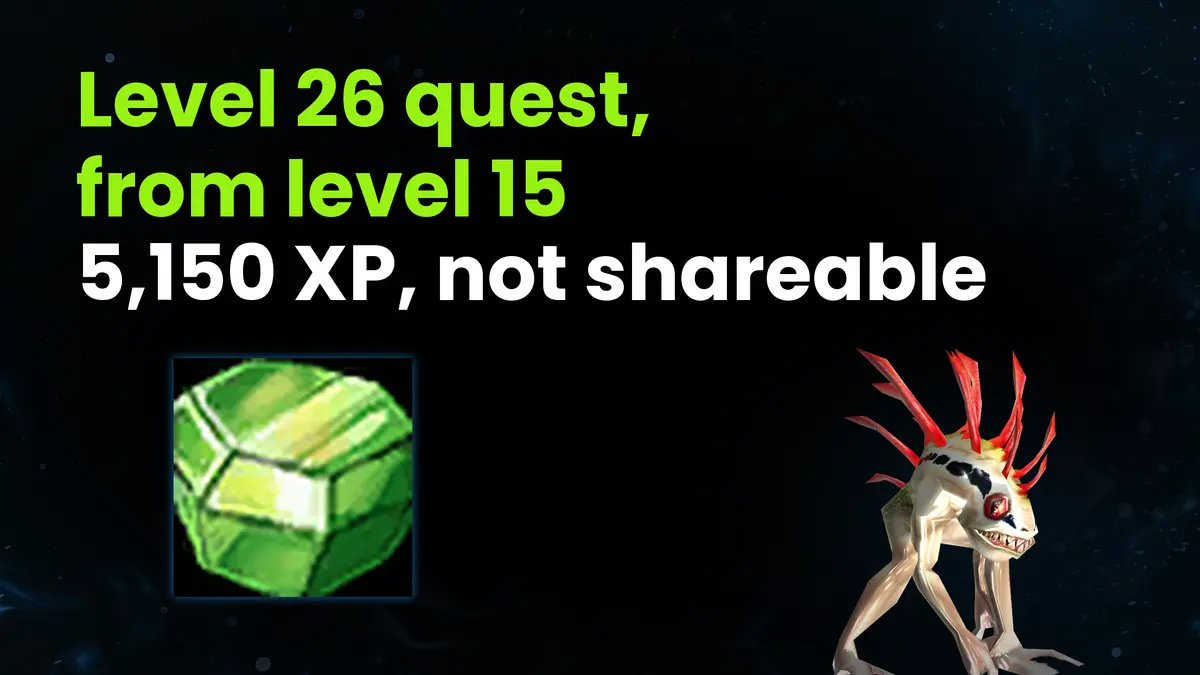
The Glowing Shard drops 68.1% of the time from the final dungeon boss Mutanus the Devourer, who appears after four Fanglords and an escort. This item triggers a level 26 quest with a reward of 5,150 XP, which both factions can accept starting at level 15. You cannot sell or trade the shard, as it is unique and binds when picked up. The quest associated with it also cannot be shared with a party.
A 68.1% drop rate means that, on average, it takes one and a half Mutanus kills to get one shard. Even after two kills, about 10% of characters will still be left without a shard. If you leave without it, the next attempt will start again with the Fanglords and the escort, so pick up the shard before leaving and use it.
Related Services
How to Summon Mutanus the Devourer

To summon Mutanus the Devourer, your party must kill four Fanglords and escort the Disciple of Naralex. Not until then will a massive, elite level 22 murloc emerge from the water. You can start with any of the Fanglords, but the escort mission doesn't become available until the last of the four has been defeated. Your party will have to search for these enemies in different parts of Wailing Caverns:
| Fanglord | Level | Location | Details of the Fight |
|---|---|---|---|
| Lady Anacondra | 20 | the ledges of the central cavern | one of the four circles |
| Lord Cobrahn | 20 | Pit of Fangs on the left | three Pythons, serpent form |
| Lord Pythas | 21 | the fork with patrols | also casts Thunderclap |
| Lord Serpentis | 21 | another part of the caverns | stands alone without minions |
All four have the same spell set: Lightning Bolt, the Druid's Slumber sleep, and Healing Touch. Interrupt Druid's Slumber first. Otherwise, the tank or healer will fall asleep and drop out of the fight. Next in importance is Healing Touch, as each such heal prolongs the fight.
The Disciple of Naralex Escort
The Disciple of Naralex is a tauren druid at the entrance who sets off after the four Fanglords are defeated. Players complain about the slow pace at which he leads the group to Naralex. Since there's no official duration for this journey, we have to go by the experience of one group of five newbies who spent over 90 minutes in the dungeon. Our boosters will guide your character through the Fanglords, the escort, and Mutanus so you don't have to assemble a party of five players and guard the tauren all the way to Naralex. But with your own party, you'll need to get through four stages:
- Preparation - Kill the monsters on the upper ledges of the first large cave and replenish your mana before speaking with the tauren.
- Stops Along the Way - The Disciple gets held up along the route by raptors and snakes. He stands at the circle of torches for 30 seconds while casting Serpentine Cleansing.
- Ritual Waves - Three elite Deviate Moccasins come out first to the ritual at Naralex, followed by a swarm of Nightmare Ectoplasm slimes. While you're at it, you'll also gather materials here for nearby quests: Wailing Essence from Nightmare Ectoplasm (23.4%) and Deviate Hide from the snakes.
- Protecting the Disciple - No enemy should reach the Disciple, so your tank must pick up anyone who attacks the tauren.
While the entire group is on the island, you'll have time to eat and drink between waves. The ritual summons Mutanus himself from the water after the final wave.
Mutanus Abilities and Tactics
Mutanus's most dangerous ability is Thundercrack. This attack is instant, dealing 152 Nature damage to everyone within a 10-yard radius and stunning them. Your group has a specific counter for each of the boss's three abilities:
- Thundercrack - Make sure that no one but the tank and melee DPS takes the hit. Ranged DPS should stay more than 10 yards away from Mutanus. The stun effect for those remaining nearby lasts 2.5 seconds according to the spell's data, though a couple of guides list it as 2 seconds.
- Naralex's Nightmare - Mutanus chooses a single target within 30 yards for this sleep effect. Interrupt the 2-second cast, or the character will fall asleep for up to 15 seconds. If Naralex's Nightmare does take effect, dispel the sleep as a Magic effect, or wake the target with any attack.
- Terrify - Mutanus inflicts 4 seconds of fear on a single melee character (in most fights, not the tank). In an old guide, Terrify is listed as an AoE spell. But the spell's data shows a single target.
The entire strategy versus Mutanus relies on the tank. Their job is to pull the boss away from the Disciple and save defensive abilities for Thundercrack. Healers have a double duty, since in addition to supporting the tank, they must heal the melee after every Thundercrack. Mutanus can also drop three Rare items: Mutant Scale Breastplate (30.3%), Slime-encrusted Pads (28.8%), and Deep Fathom Ring (27.3%).
Where to Turn In The Glowing Shard
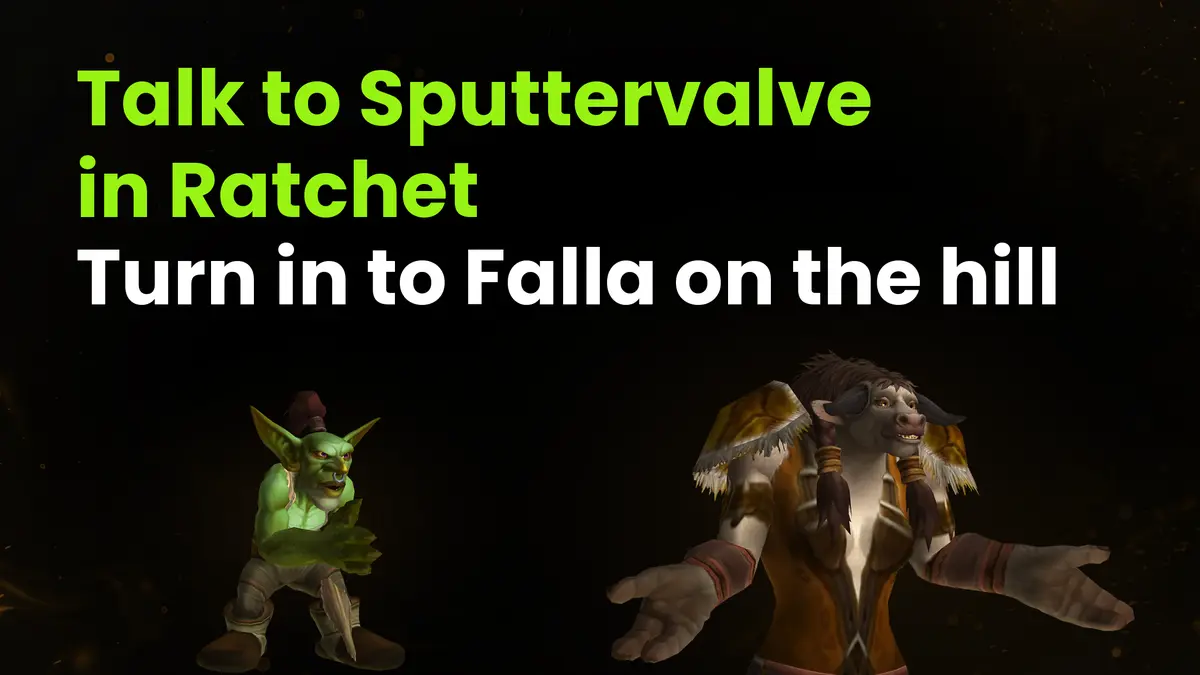
To turn in The Glowing Shard, you'll need to travel from Wailing Caverns to Ratchet to see the goblin Sputtervalve. While you're in Ratchet, turn in two more quests: Smart Drinks to Mebok Mizzyrix and Trouble at the Docks to Crane Operator Bigglefuzz. But the 5,150 XP reward for The Glowing Shard is given by no one except Falla Sagewind, whose hut is located at the top, above the cave entrance. The path to Falla starts in Ratchet and takes three steps:
- Sputtervalve in Ratchet - Look for Sputtervalve at coordinates 63.0, 37.2, between the flight master and the Booty Bay boat dock. Since the quest icon isn't glowing above the goblin, start a conversation with him yourself and click "Tell me about the Glowing Shard." Sputtervalve will advise you to take the shard to a druid who lives on a mountaintop above Wailing Caverns.
- Climbing from the Hill - Go around the cave and follow the trail that starts outdoors by the hill at coordinates 45.35, 34.13.
- Falla Sagewind - At the summit (at coordinates 48.2, 32.8), there's a hut where a tauren druid is waiting. Falla will take the shard and at once give you the follow-up quest In Nightmares in exchange.
If you follow the quest marker, you'll end up in the dungeon beneath Falla's hut. A player encountered this issue on November 9 and wrote in a complaint that the map had already marked him as having arrived, even though he was standing in the cave beneath the mountain. Start your ascent from the hill at coordinates 45.35, 34.13: Falla is waiting at the top, rather than underground.
In Nightmares and Its Rewards
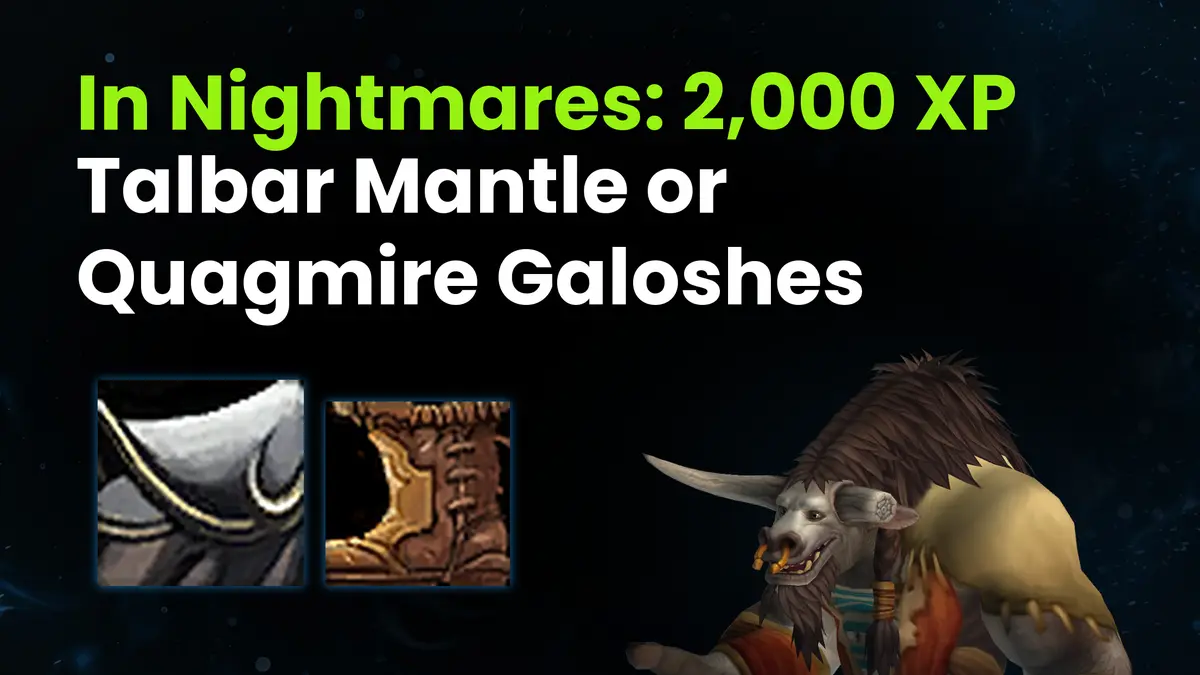
After taking the Glowing Shard from you, Falla Sagewind gives you the level 25 quest In Nightmares right in her hut. The quest text states that a nightmare is emerging from the Nightmare Shard instead of the pure essence of the Emerald Dream. Where to go next depends on your faction: Horde or Alliance. Horde players take the Nightmare Shard to Arch Druid Hamuul Runetotem, who is located in Thunder Bluff on Elder Rise (78.6, 28.6). Alliance players, on the other hand, head to Darnassus to see Mathrengyl Bearwalker in the Cenarion Enclave (35.2, 8.1). At either location, you exchange the Nightmare Shard for one of two items:
| Reward | Type | Armor | Stats | Who It Suits |
|---|---|---|---|---|
| Talbar Mantle | cloth shoulders | 30 | +4 Intellect, +2 Stamina | Mage, Priest, Warlock |
| Quagmire Galoshes | mail boots | 126 | +4 Intellect, +4 Stamina | Paladin |
Since both rewards provide the same amount of Intellect, you should choose between the Talbar Mantle and the Quagmire Galoshes based on armor type. The cloth shoulders are suitable for Mages, Priests, and Warlocks. Paladins, on the other hand, are better off taking the mail Quagmire Galoshes with 126 armor, which, of all the classes in the table, suit them alone. On October 8, Blizzard removed the Rare status from both items and reduced their stats at the same time, that's why they are Uncommon as of the November 4 launch. Completing the In Nightmares quest itself gives an additional 2,000 XP and +100 reputation with Thunder Bluff or Darnassus. Combined with the 5,150 XP from The Glowing Shard, the quest chain gives a total of 7,150 XP per character.

Is The Glowing Shard Worth It
For the very first completion, The Glowing Shard in WoW Forever awards 5,150 XP. Players estimate that for a level 20 character, this amount is worth more than a quarter of a level. Together with the continuation at Falla, the quest chain totals 7,150 XP. But whether the trip to Mutanus will be worth it for you depends on three additional factors:
- October 1 Update - Blizzard cut the XP bonus for dungeon quests in half before the November 4 launch, affecting everything from the shard to The New Plague quest chain. After the update, The Glowing Shard is still more generous than Classic's 2,650 XP, although it used to yield around 7,700 XP.
- Trip Duration - With the escort, you spend over 90 minutes on the trip, which many players dislike. A complaint about quests that cannot be completed in a single run garnered a whopping 1,268 votes.
- Experience from Kills - Blizzard introduced a 50% experience boost from monsters in WoW dungeons on November 8, covering every enemy in Wailing Caverns, but since November 14, no one in the party gets XP for killing an enemy if a party member is more than 12 levels above it. With the new numbers, one healer leveled up from kills alone in a single run and gained another half-level from quests.
I recommend that anyone who has defeated Mutanus take on the shard and the In Nightmares continuation. Even a run lasting longer than 90 minutes pays off when the experience from kills is added to the two rewards of 5,150 and 2,000 XP. You should incorporate this into your 1-60 leveling plan no later than level 28, while the quest is still highlighted in yellow.
Other Quests to Take on the Same Run
On a run for The Glowing Shard in WoW Forever, players take on six additional quests: four for both factions and two Horde quests from Thunder Bluff. You get them from NPCs at the entrance, in Ratchet, and in Thunder Bluff:
| Quest | Faction | NPC | What to Do | XP |
|---|---|---|---|---|
| Deviate Hides | Both | Nalpak, niche above the skull | 20 Deviate Hides | 3,100 |
| Deviate Eradication | Both | Ebru, niche above the skull | seven of each of the four types | 4,000 |
| Smart Drinks | Both | Mebok Mizzyrix, Ratchet | six Wailing Essence | 2,650 |
| Trouble at the Docks | Both | Crane Operator Bigglefuzz, Ratchet | Port from Mad Magglish | 2,650 |
| Leaders of the Fang | Horde | Nara Wildmane, Thunder Bluff | four Fanglord gems | 4,300 |
| Serpentbloom | Horde | Apothecary Zamah, Thunder Bluff | ten Serpentbloom | 3,300 |
Two quests from the table have prerequisites: Raptor Horns for Smart Drinks and the Barrens oasis chain for Leaders of the Fang. Together with the shard, the dungeon quests give 17,550 XP to an Alliance character and 25,150 XP to a Horde character, not counting the follow-up from Falla.
Skip the Escort and the Deviate Hide Farm
The Glowing Shard quest begins with a shard, for which a party of five players must kill four Fanglords and endure a long escort. It's easier to find party members via the Meeting Stone at the entrance, though this stone doesn't allow you to summon them to you. The related quests also require each of the five players to farm 20 Deviate Hides and ten Serpentbloom on their own. Three WoW Forever boosting services take all this hassle off your hands:
- WoW Forever Wailing Caverns Boost - You'll complete Wailing Caverns with a pre-formed group that handles the four Fanglords, the ritual at Naralex, and the battle with Mutanus. There's no need to assemble a party of five or guard the Disciple of Naralex during the escort, which would otherwise extend the run to over 90 minutes.
- WoW Forever Dungeon Quests Boost - With this service, your character gets 20 Deviate Hides for Nalpak and 99-Year-Old Port from the invisible Mad Magglish, then turns them in along with the rest of the dungeon quests. Farming snake hides and searching the caves near the entrance for Mad Magglish are no longer necessary.
- WoW Forever Character Leveling Boost 1-60 - You receive a level-60 character that's been leveled up through quests, without wasting time on tasks that can't be completed in a single run. The gold, items, and reputation earned along the way to level 60 are yours.
We handle every account with care, since all three services are performed right on the customer's character. The result of this care is simple: 99% of customers receive their order without any security issues.
The Glowing Shard Quest FAQ
What level do you need for The Glowing Shard?
Level 15 is enough, although the quest itself is meant for level 26. It is a yellow quest until level 28. The continuation at Falla in World of Warcraft Forever is available as early as level 10, unlike in Classic, where it required level 15. But without the shard from Mutanus's loot, you still won't be able to reach In Nightmares.
Where is Falla Sagewind?
Coordinates 48.2, 32.8 will lead you to a hut above the dungeon entrance. It stands atop a mountain that rises north of Lushwater Oasis and southwest of Crossroads. You begin the ascent to Falla outdoors from the hill at coordinates 45.35, 34.13, although she's just 4 map units away from the cave entrance.
Can Alliance players do The Glowing Shard?
Both factions can accept the quest, and it involves the same Mutanus shard. Their paths diverge at the continuation of the quest from Falla, which Alliance players turn in to Mathrengyl Bearwalker in Darnassus. The Barrens are farther away for the Alliance, as the boat from Booty Bay docks in Ratchet and the one from Menethil Harbor sails to Theramore. There's also a land route from Ashenvale.
Can you share the quest with your group?
Each member of the five-player group will have to obtain their own shard from Mutanus. The quest cannot be shared within the group, since the Glowing Shard binds when picked up. Since the follow-up quest from Falla also cannot be shared, each player will have to complete the entire quest chain on their own.
How many quests can you take on this run?
A Horde character can receive seven quests, while an Alliance character can receive five. The Horde gets two additional quests in Thunder Bluff: Leaders of the Fang from Nara Wildmane and Serpentbloom from Apothecary Zamah. After turning in the shard, you'll also add the follow-up quest In Nightmares to all these quests.